FTP stands for File Transfer Protocol and it’s simply a client that allows you to save your WebPages from your computer to your web host or the remote site or the remote server those are words that are used kind of interchangeably the first thing.
- Go to Google type in FileZilla the client simply go to FileZilla -project org and then simply download the version that’s compatible with your computer if you’re on Windows you’re obviously going to want to download the windows version.
- If you received an msvcr100.dll missing error, please download latest version of msvcr100.dll file and install it in the Windows system directory.
- After FileZilla has finished downloading if the file is archived you’re going to want to unachieved it and after on archiving and after installing FileZilla simply launch the client.
- Take a trip over to your web host and create an FTP account and now all that is it’s just a username and a password that you’ll need to use an FTP program and save the files to your server.
- Note that you created this information while setting up your hosting account or server. If you don’t recall creating this information they’re actually hosts that create this information automatically for you and they send this information in an email. So you will actually want to look through emails and locate the information.
- For the port you can leave it on default which is 21 for FTP or 22 for SFTP.
- Note that there’s also a way to actually save this information for example if you can add multiple sites and automatically connect to them each time you use filezilla so you can actually organize yourself and not have to worry about entering in the soil information.
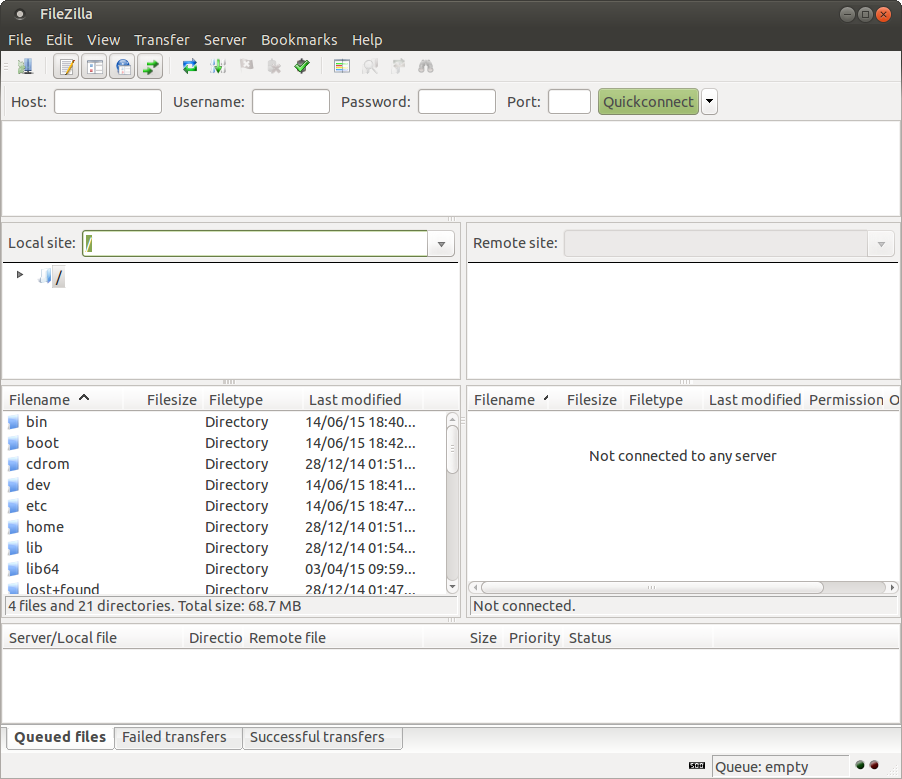
- If you select quick connect now you will connected to your web host so before getting into uploading files let’s take a look at the FileZilla user interface. You’ll see four quadrants there.
- The left side is your local machine so this is your hard drive and as you can see it says local site and then it’s got users.
- On the right side you’ve got your remote site or your web host so these are the live files that are on your server.
- So again you click you know the corresponding folder and the files that are living that are on your server.
- Now if you’re just getting started you probably won’t have a lot of files over there on the remote side because you haven’t uploaded anything yet.
- When you’re ready to save a file to your web server you’ll navigate to the folder where you save the web file.
- Your will make sure that you choose in the correct folder to upload your file.
- Right click on your file and then click on upload, go OK and then that uploads the file to your server.
So, in this way you can use filezilla.