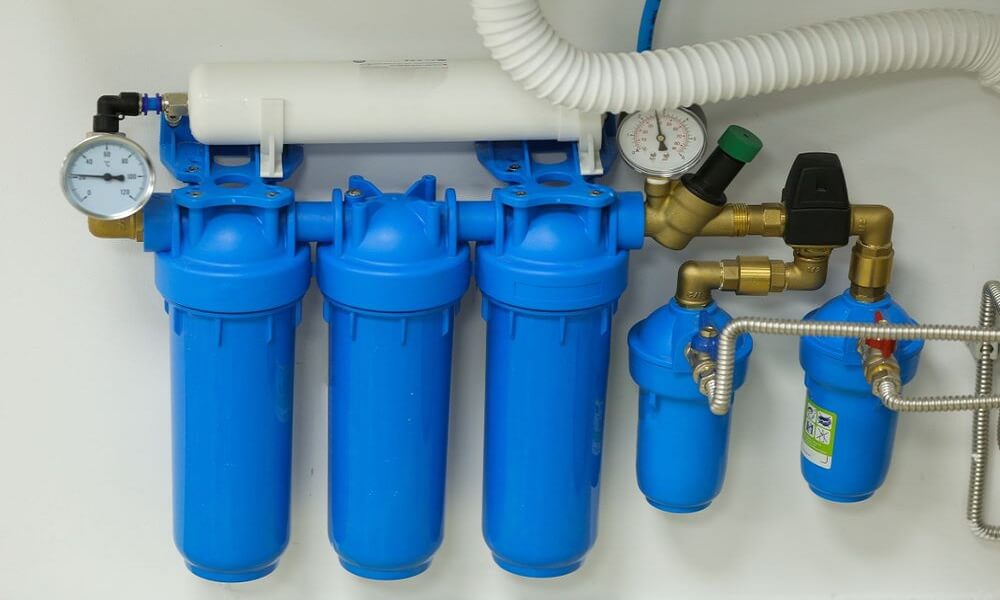
The functioning of Under Sink Water Filters Systems
Under Sink Water Filters are popular with people who select them for installation in their households. The filter is fit for kitchens since it is hidden under the sink providing pure drinking water from the sink outlet tap. It is easy to install an Under Sink Water Filter on any sink to provide a faucet or outlet. A diverter valve is used to divert cold water from the main supply line and direct it to the filter where the filtration process is taking place.
These filters purify water in two segments, the conventional one and the simple filters. There is water coming in from the cold valve and filtered water from the faucet line in the first category. In the other category, there is water coming in and going out through the same line. People may end up filtering more water than required since the water filter functions continuously.
Management of Under-sink Filter systems is easy with the automated switch on –offs to avoid water wastage during filtration. Also, the filters have inbuilt replacement alarms if there is a system malfunction enabling the user to detect the defects early.
The filters function like reverse osmosis water filters removing harmful toxins and elements such as calcium, magnesium, arsenic, ammonia, rust, fluoride and others. The process gives out pure, clean water safe for domestic use and drinking. An ideal water filter review will help you in identifying the water filter that suits your entire household.
Advantages of Under Sink Water Filter
Under Sink Water Filters helps remove heavy metals such as rust particles, dust and silt present in water.
Installation of these filters is hidden under the sink providing more space above the counter.
These filters help in eliminating harmful bacteria, parasites and amoeba that may be present in water.
Under Sink Water Filters gives water better tastes by removing foul odors and smells.
Steps followed during installation.
Verifying the Valve – Turning off the cold water supply to the sink is the first thing you should do before starting. Turn the under sink valve to stop the water flow and, using the manufacturer’s procedure, proceed to the installation process. It is important to note that some cutoff valves that have not been closed in a long time may be stuck in the open from mineral deposits, which calls for water filter professional.
Inbuilt Drills –
Find out whether the sink you purchased came with predrilled holes for installing ancillary faucets and accessories such as toothpaste dispensers. Installation of the filtered faucet component of an under-counter filter is enabled by removing the handy spot that comes closed with plugs.
Depending on the model you choose to buy, it will determine whether the sink comes with inbuilt drills, or you will have to drill the holes yourself before installing. Granite sinks require a professional stone technician to drill, Porcelain sinks can be drilled using a masonry drill bit, and stainless steel sinks are easy to drill using a standard metal drill bit.
Check under the sink to ensure that you verify there are no existing obstructions, proceed to pick the spot to the right or left of the existing main faucet. Use a punch, mark the spots first, and apply masking tape over it to ensure the drill doesn’t damage and skitter the stainless surface.
Avoid over-tightening –
After installing the faucet, you are required to add a tee fitting in the cold water line connecting to the sink faucet to aid in diverting water over to the filter. Ensure you do not over-tighten because it can lead to frequent leaks.
Identify an accessible spot –
Before mounting the filter head, ensure you can access it for regular checks by placing it strategically. Lower the screw-on filter canister, which will need ample clearance beneath it to unscrew the canister and remove the replaceable filter cartridge. For easy removal of the canister, position the filter head mounting bracket high enough in the under-counter space.
Check for leaks –
After connecting everything, screw the canister into the filter head under the counter by placing a fresh filter in the canister. Ensure the standard cold water faucet and the filtered water faucet is closed, open the cold water shutoff valve. Put the system underwater pressure and make an observation to verify there is no leakage in all the appliances.
Flush the filter –
After installation, ensure the first time you let the water run for several minutes to flush the filter. The procedure is ideal after every installation of a new filter cartridge that uses standard activated carbon filtration. It helps in flushing carbon fines particles shed by a new filter out of the system. These particles are harmless but may be conspicuous in clear water.